Composting is a simple, eco-friendly way to turn kitchen scraps and yard waste into rich, fertile soil for your garden. Whether you have a large backyard or just a small balcony, composting at home can help reduce waste, decrease your carbon footprint, and improve plant health. If you’re new to composting, this guide will provide beginner-friendly tips to get you started with confidence.
What Is Composting?
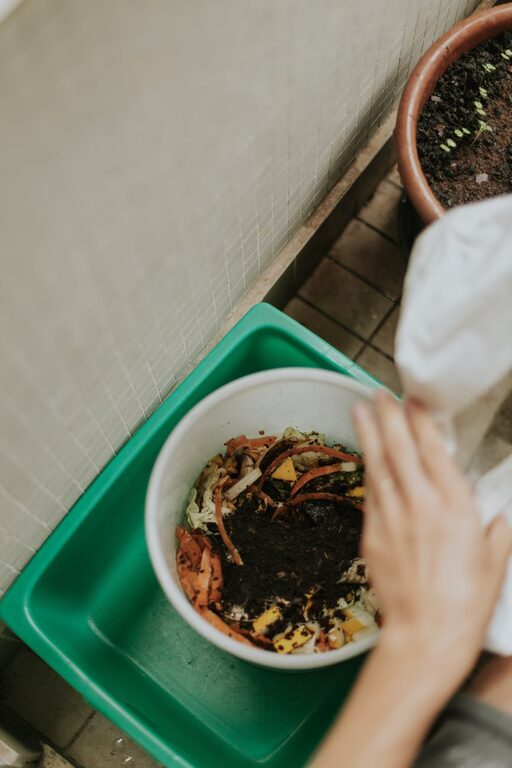
Composting is the natural process of recycling organic material, such as food scraps and yard waste, into a dark, nutrient-rich soil amendment called compost. This substance enriches soil, helping plants grow healthier by providing essential nutrients and improving soil structure.
Benefits of Composting at Home
Before diving into how to compost, it’s helpful to understand why it’s worth doing:
– Reduces landfill waste: Composting cuts down on the amount of organic waste sent to landfills.
– Enriches your garden soil: Compost returns nutrients to the soil, aiding plant growth.
– Saves money: Less need for chemical fertilizers.
– Supports the environment: Composting reduces greenhouse gas emissions from decomposing organic materials.
Getting Started: What You Need
You don’t need expensive equipment or a big garden to begin composting. Here are the essentials:
– Compost bin or pile: This can be a purchased bin, a homemade wooden structure, or even a simple pile in a corner of your yard.
– Organic waste: Kitchen scraps like vegetable peels, coffee grounds, and egg shells, plus yard waste like grass clippings and leaves.
– Water source: Moisture is key for decomposition.
– Aeration tool: A garden fork or compost aerator helps mix your compost to introduce oxygen.
Step 1: Choose a Composting Method
There are a few popular composting methods suitable for beginners:
Traditional Compost Bin
A designated container or pile outdoors where organic waste is added regularly.
Pros: Simple and housed in one spot.
Cons: Requires space and some maintenance.
Tumbler Compost Bin
A cylindrical bin on a stand that spins to mix contents.
Pros: Speeds up composting, easy to turn.
Cons: More expensive; limited capacity.
Vermicomposting (Using Worms)
Using worms (usually red wigglers) to break down kitchen scraps in a bin.
Pros: Ideal for small spaces and indoor composting.
Cons: Requires care of worms and a bit more management.
Step 2: Know What to Compost
Not everything is compostable. Here’s what works best:
Greens (Nitrogen-Rich Materials)
– Fruit and vegetable scraps
– Coffee grounds and filters
– Tea bags (without synthetic materials)
– Fresh grass clippings
– Plant trimmings
Browns (Carbon-Rich Materials)
– Dry leaves
– Straw or hay
– Shredded paper and cardboard (avoid glossy or colored inks)
– Wood chips or sawdust (from untreated wood)
– Pine needles
Avoid Composting
– Meat, dairy, and oily foods (can attract pests)
– Pet waste (may contain harmful pathogens)
– Diseased plants (risk of spreading)
– Synthetic materials, plastics, metals
Step 3: Balance Your Compost
Aim for a good balance between greens and browns, roughly 2:1 in volume. Too many greens can make your pile smelly and slimy, while too many browns slow down decomposition.
Step 4: Maintain Your Compost
Keep It Moist
Your compost should feel like a damp sponge—moist but not soggy. If it dries out, decomposition will slow; if too wet, it can become smelly.
Turn the Pile
Aeration helps speed up composting by supplying oxygen. Turn or mix your compost every one to two weeks to prevent odors and encourage even decomposition.
Monitor Temperature
A healthy compost pile can heat up as microbes break down material. This is a good sign that the process is working. If the pile cools off, turning it can help.
Step 5: When Is Compost Ready?
Compost usually takes a few months to a year to become dark, crumbly, and earthy-smelling. Finished compost shouldn’t be recognizable as its original ingredients.
Useful Tips for Beginners
– Start small: Begin with a small bin and increase size over time.
– Chop materials: Smaller pieces break down faster.
– Avoid overloading: Add waste in moderation to maintain balance.
– Add a little soil: Soil introduces helpful microbes.
– Be patient: Composting is a slow but rewarding process.
How to Use Your Finished Compost
Once your compost is ready, spread it on garden beds, mix it into potting soil, or use it as mulch around plants. This will improve soil fertility, retain moisture, and promote healthy plant growth.
Common Composting Challenges
– Bad odor: Usually caused by too much moisture or too many greens.
– Pests: Avoid meat and cover food scraps with browns.
– Slow decomposition: Chop materials smaller; turn pile; balance greens and browns.
Final Thoughts
Composting at home is an accessible and effective way to reduce waste and improve your garden’s health. With a little effort and patience, you’ll soon have nutrient-rich compost ready to nourish your plants. Start small, stay consistent, and enjoy the benefits of this sustainable practice.
Happy composting!